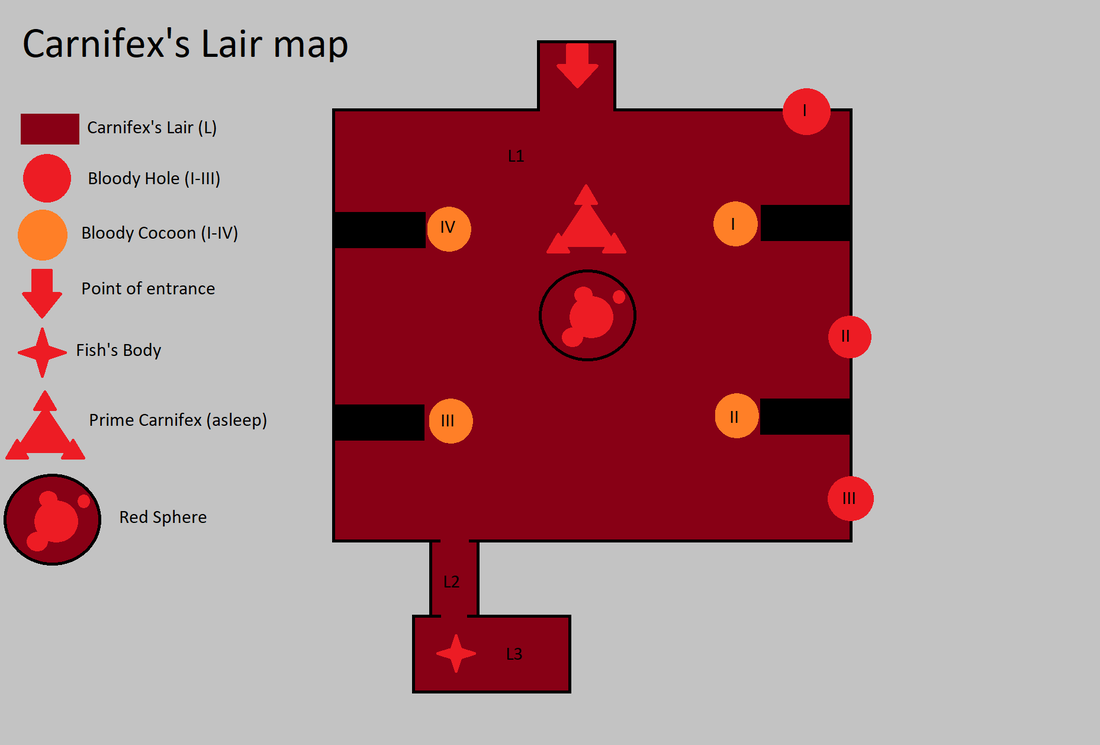
The Carnifex's Lair is probably the hardest location in the game. It contains one of the strongest bosses in the game, Prime Carnifex, assisted by the Red Sphere. You'll hear a lot about them, from the Brotherhood, Sherp's memories and several quests. Ready to face the hardest boss of all?
How to unlock
Unlocking the Carnifex's Lair might just be an even greater obstacle than conquering it. There are several steps you have to take:
- Follow Fish's story to unlock the Warehouse Slammer.
- Clear Ambush and Twins Facility to gain parts for the Slammer drill.
- Unlock the Screaming Forest and upgrade your Anvil to level 4.
Preparation
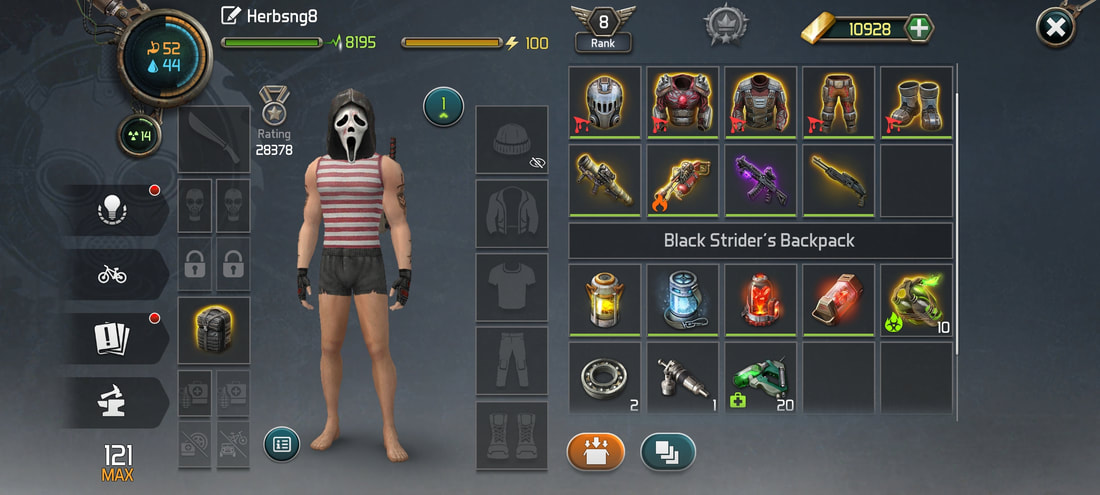
Preparing for the Carnifex's Lair isn't easy. It not only requires special equipment, but also strategy, experience and a strong device to play on. Most people use:
- (Sets of) armor:
- Forest Beast's armor;
- Black Strider's armor, preferably with Black Strider's Fiery Armor;
- Turnkey's armor;
- Nuclear Inquisitor's armor;
- Black Dragon's armor.
- 20-40 Phoenix Stimulators;
- at least 1 Toxic Poison Grenade;
- Hematite;
- Pusher;
- (Protective) Heart of Carnifex;
- 10 Bunches of Molotov Cocktails;
- Food buffs and consumables;
- one weapon from the list:
- Serpent Eyes (tomb fire);
- Akimbo Revolvers;
- Burning Decree (fire);
- Damballah's Soultaker (acid);
- Prototype D6;
- Forest Guardian's Bow (toxic poison);
- Hokan Crossbow (tomb fire);
- Eternal Liturgy (fire);
- one weapon from the list:
- Red Dragon Rocket Launcher;
- Commando Rocket Launcher;
- Tomb Word;
- SPRING-M R. Launcher;
- one weapon from the list:
- Houngan's Soultaker;
- Glock-A Pyro;
- Forest Beast's Hammer.
|
|
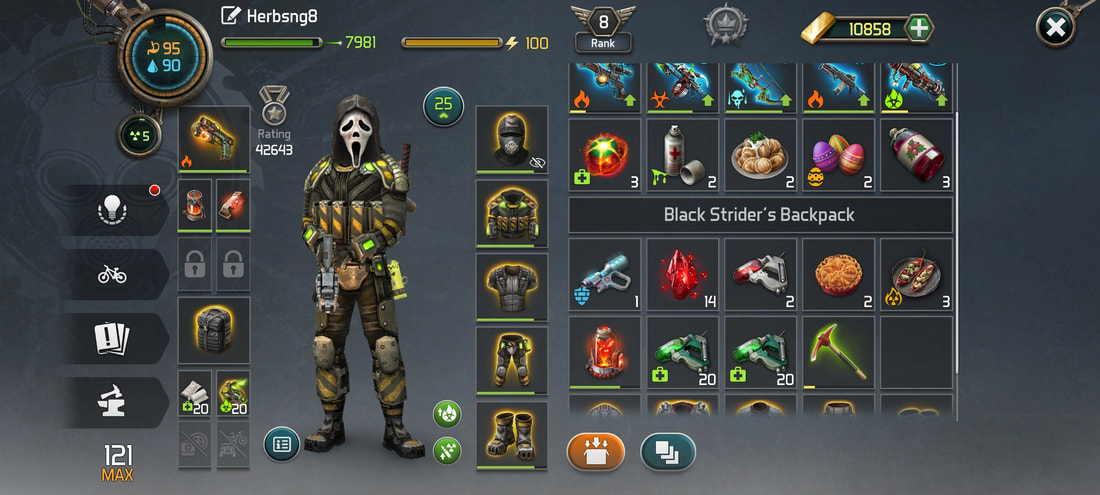
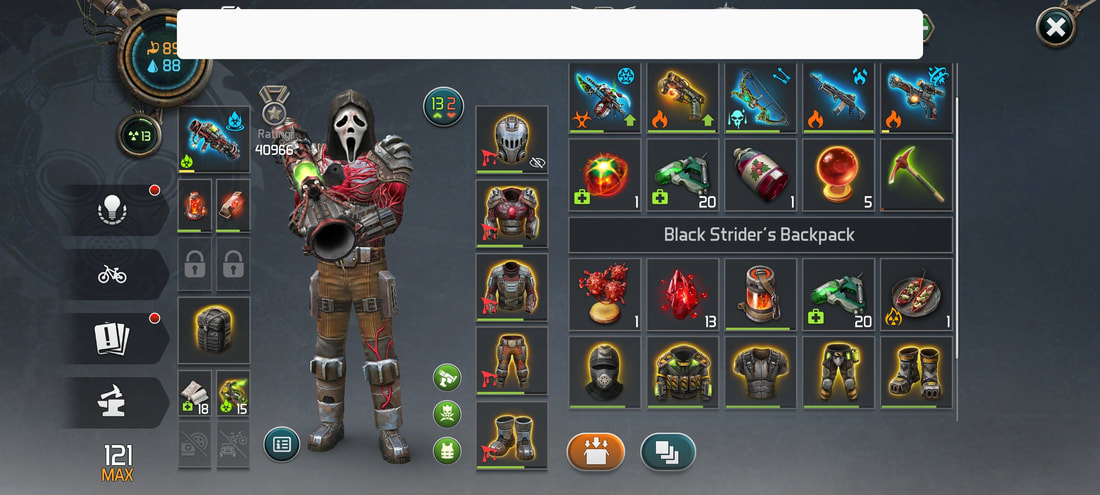
Used equipment before the battle (left) and after (right)
Walkthrough
|
Now that you have all necessary items, there's still a list of things to do to make your fight go smoother. You have to:
|
|
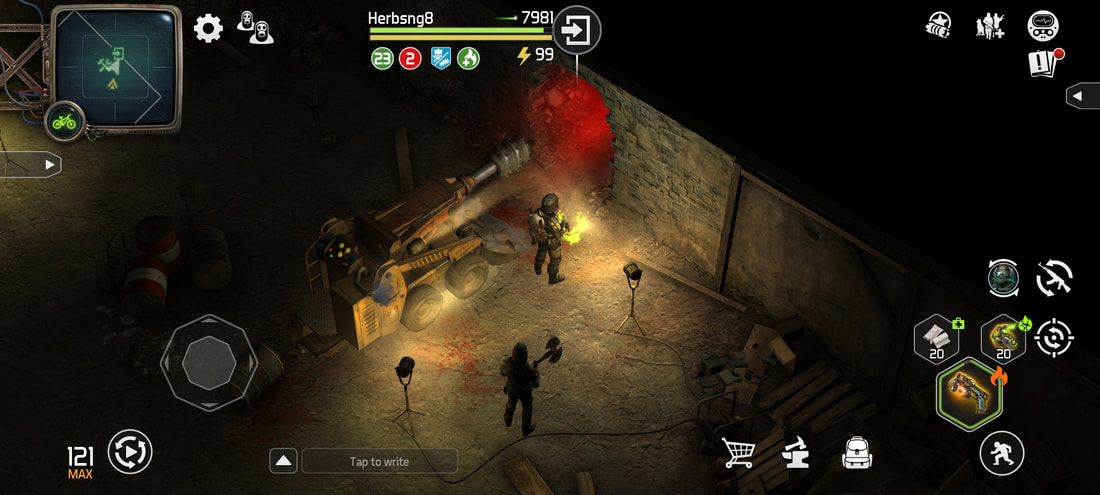
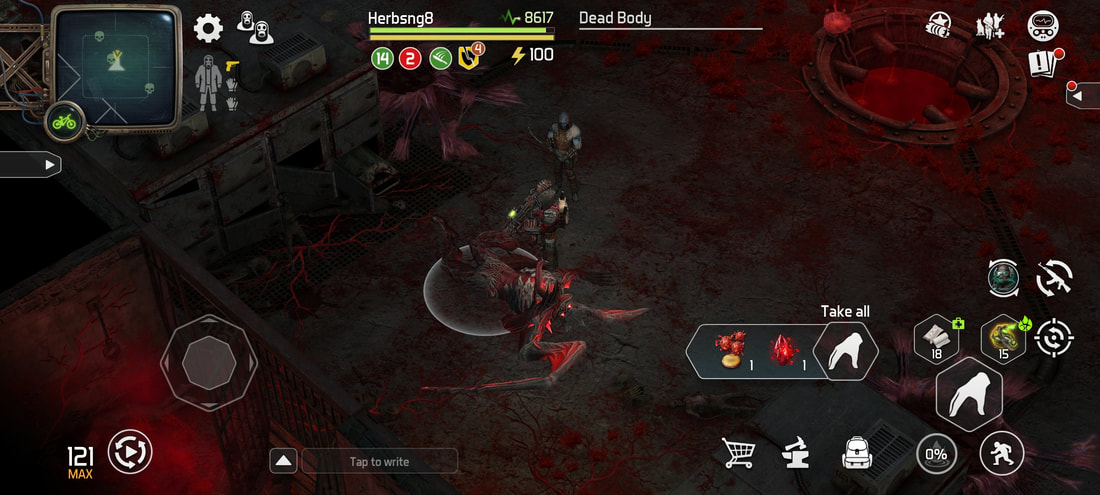
You will now get some good news and some bad news. The good news is that the Prime Carnifex only wakes up after 1 minute. The bad news: there are multiple enemies, four Bloody Cocoons and three Bloody Holes in the room. Your first priority is to deal with these. Start off by burning all Bloody Holes. They are located on the north-eastern wall, guarded by some enemies. Use your Glock-A Pyro to burn the holes and your strong acid weapon to deal with the armored enemies. Leave the Bloody Cocoons for now. Kill all enemies clockwise and burn all Bloody Holes clockwise. If you still have time, start bursting the four Bloody Cocoons. They are all in a different corner of the map. If you don't destroy them, they'll spawn Risen Carnifexes. If you managed to do all of this within one minute, go to a corner of the map, out of the range of the Red Sphere.
Your next task will be to kill the Prime Carnifex. After the timer ends, quickly use a Blood Groove to make your fight easier. There are two ways of dealing with the boss:
Hit-exchange strategyThe hit-exchange strategy will probably feel most natural. You basically run around the Red Sphere and shoot at the Prime Carnifex every now and then, making the most of the periodic damage. Avoid both his special attacks, the tongue and the summoning of Predatory Moss, but that isn't too hard. Note that the Predatory Moss will slow you down, so make sure to avoid that if you didn't equip a Pusher. When the Prime Carnifex only has one HP bar left, throw a Toxic Poison Grenade to stop his regeneration. You do have to kill him quickly now, as the toxic poison periodic damage will wear off and enables the boss to heal again.
|
Tank strategyThe tank strategy is a slightly counter-intuitive. You simple stand in a corner of the map, out of the reach of the Red Sphere, and wait for the Prime Carnifex to approach you. You start to shoot at him as soon as you can and do not run away when he hits you. Instead, make the most of your Blood Groove and simply keep shooting till he dies. Note that you only have to avoid his tongue special attack on his second HP bar, as that will completely regenerate that bar. When the Prime Carnifex only has one HP bar left, throw a Toxic Poison Grenade to stop his regeneration.
|
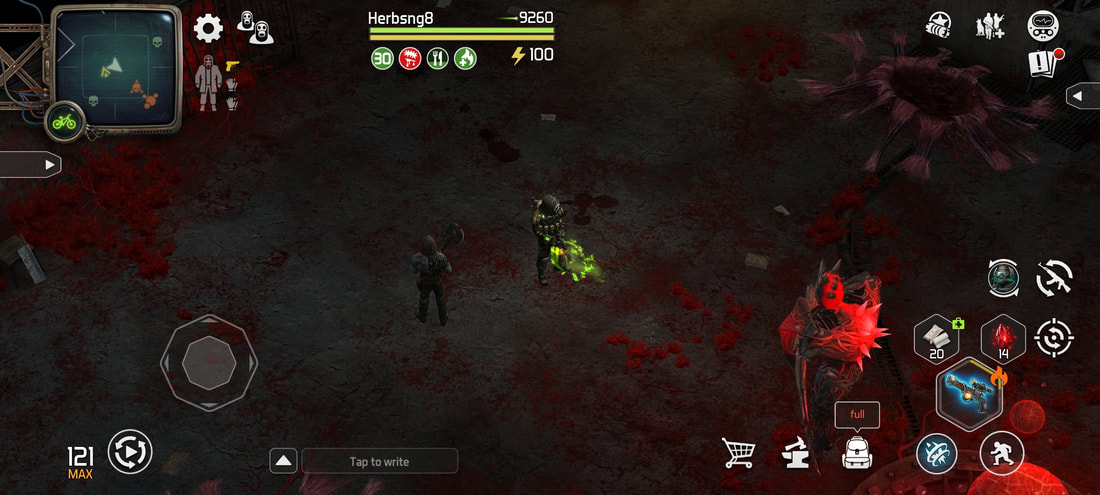
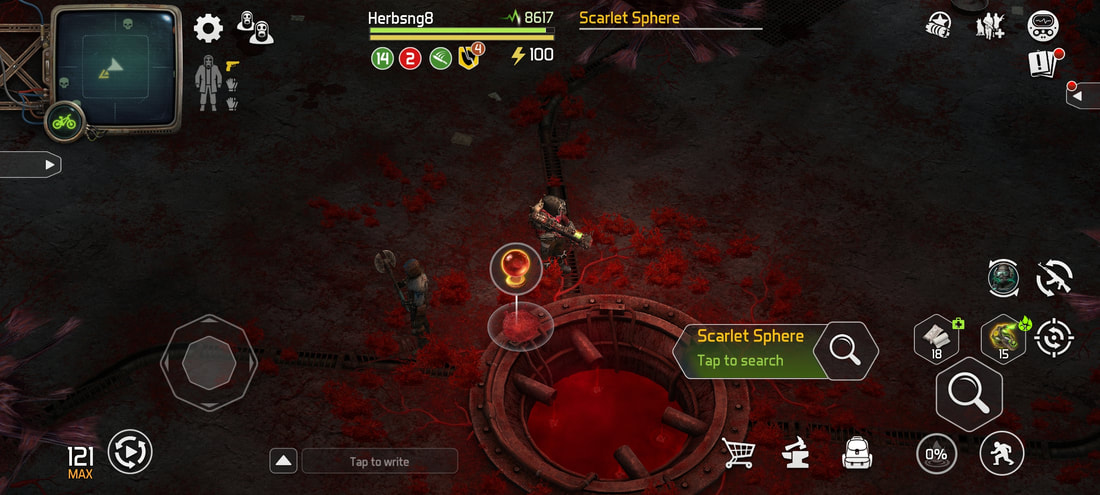
Now that you've defeated the Prime Carnifex, it's time to blow up the actual boss: the Red Sphere. Make sure to kill all Charred and Ghouls first and take shelter in one of the corners of the map, out of the reach of the Red Sphere. There are two important things to know about the Red Sphere:
- It's invulnerable to Neutralizing Nanites or the Death Swarm Shotgun;
- Its attacks make you vulnerable to direct damage and this effect stacks up;
- It uses its diffusion ability every so often, stripping you from most of your usual effects.
|
|
Loot
Now that you've conquered the complete Warehouse, it's time to collect your reward. First, loot both the Prime Carnifex and the Red Sphere. The Prime Carnifex will give you a Triple Bloody Tear and possibly some Blood Groove, whereas the Red Sphere gives the actual reward: 5 Clear Bloody Tears. It also gives some Crush Candies and Devil's Urchins, but those are negligible compared to the bloody tears. Return to the Striders' Camp to trade your Clear Bloody Tears for a ??? crate. This contains the best loot from all over the Territories:
- one full armor set: Turnkey's armor, Black Strider's armor, Exterminator's armor, Triad Shadow's armor or Nuclear Inquisitor's armor;
- weapons, including Dark Zone SMGs, rifles or shotguns;
- motorcycle and Shelter drill parts;
- Protective Heart of Carnifex, Phoenix Stimulators, damage boosters and other helpful items.
|
|
Do you rather watch some videos on the topic? Here are some of the best:
|
|
|
|
|
|
